
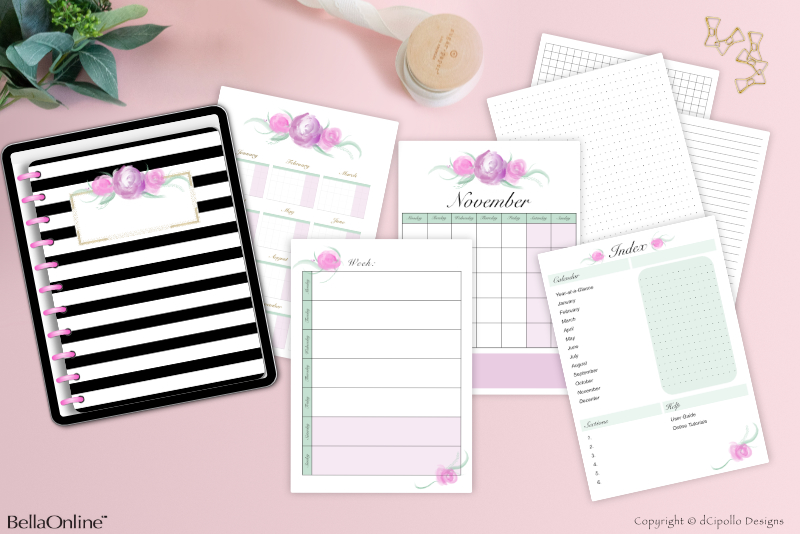
Full Digi Planner PDF Template - Top Tab Icon
At this point in the Design a Digital Planner in Affinity Suite tutorial series, we are ready to add labels to the top and side tabs. We will start by creating an icon for the Index tab. In this tutorial you will learn the following.
We will start by using the StudioLink to go to the Designer workspace.
Design a Digital Planner in Affinity Suite - Tutorial Series Index
More Affinity Suite Tutorials
Screenshots used by permission of Serif (Europe) Ltd. This article is not endorsed by Serif Ltd.
- Use the StudioLink to switch between the Publisher and Designer workspaces
- Use Designer's Shape tools to draw shapes on the Canvas
- Use Designer's Boolean Operations to create an icon for the Index page
We will start by using the StudioLink to go to the Designer workspace.
Let's Get Started
- Open your Full Digi Planner PDF .afpub working file. In the Master Pages panel, double-click the thumbnail for the Inside Page master.
- Click the Designer Persona icon in the Toolbar to go to the Designer workspace (see screenshot).
- Use the Zoom tool to zoom in to the top right corner of the Canvas.
- From the Shape tools list, select the Polygon tool and set the Sides to 5, Stroke color to Null and the Fill color to black (000000) in the Context Toolbar.
- With no layers selected in the Layers panel, drag over an empty area of the Canvas next to the small top tab to draw the Polygon shape. You will see a new layer at the top of the Layers panel. On the Canvas, drag the shape over the top of the Index tab (see screenshot).
- Open the Top Tabs group layer. Drag the new polygon layer to just above the Index group layer.
- In the Transform panel, select the top left corner of the Anchor Point Selector. Set the Width and Height to 40.
- From the top menu, click Layer - Convert to Curves. Now we can control each node of the shape individually.
- Select the Node tool and drag the two bottom nodes outward and in line with the outside nodes (see screenshot).
- Switch to the Rectangle tool and draw a rectangle for the chimney of the house (see screenshot).
- Select both shape layers in the Layers panel and click the Add button in the Toolbar. This will combine the two shapes into one (see screenshot).
- Draw a new rectangle for the door.
- In the Context Toolbar, switch the Fill color to white (ffffff) (see screenshot).
- Select both layers again and click the Subtract button in the Toolbar, to remove the door from the house shape (see screenshot).
- Name the icon layer to Index Icon.
- Set the following values in the Transform panel (see screenshot).
- Click the Publisher Persona icon in the Toolbar to go to the Publisher workspace.
- Click File - Save to save our changes to the working .afpub file.
Now we will cut a rectangle hole to represent the door of the house.
It will be easier to see the door shape if we use a different color.
X to 210
Y to 30
Width: 40
Height: 40
Design a Digital Planner in Affinity Suite - Tutorial Series Index
More Affinity Suite Tutorials
Screenshots used by permission of Serif (Europe) Ltd. This article is not endorsed by Serif Ltd.
Powered by Creative Market

Related Articles
Editor's Picks Articles
Top Ten Articles
Previous Features
Site Map
Content copyright © 2023 by Diane Cipollo. All rights reserved.
This content was written by Diane Cipollo. If you wish to use this content in any manner, you need written permission. Contact Diane Cipollo for details.


